
Having clear skin is almost every girl’s dream, am I right? Who doesn’t want to have healthy and glowing skin? I’m sure all of you will raise your hand! But getting this dreamy skin is very hard, you need to do an extra effort and it will take a long time to get this kind of skin. So, for those who are impatient person, I believe you can’t wait for the process.
But do you know there’s another tip to get this healthy and glowing skin? I know you will be confused about the answer! Meanwhile, if your answer is makeup, you’re totally right! There’s a technology called makeup that will do magic to your skin. Just take around 30 minutes until 1 hour, you can get healthy and glowing skin!
Okay, now you will think makeup just makes your skin looks tacky or even it doesn’t look natural. You’re wrong about this! If you’re a makeup expert, this very possible to get. We called this makeup a clean and glossy makeup that will give you a natural look. Besides that, you can wear this makeup for daily use or even going to a special occasion. Who feels excited about this topic? So, let’s move on to the tutorial!
Clean and Glossy Makeup Tutorial
1. Preparing Your Skin with Skincare is a Must
The very first step that you have to do is to prepare your skin. If your skin is not ready for makeup, I believe it will be hard to get this clean makeup. So, you need to use skincare that matches your skin type to get the maximal result. Besides that, this step also has the function to protect your skin from chemical makeup that can make your skin breakout or acne.
When your skin condition is hydrated and moist, your makeup will stick well on your skin so your makeup will last longer than you don’t do the prep skin step. For people who have oily skin, you don’t have to worry this step will make your skin feel greasy because we will tell you how to choose the right skincare.
If you have oily skin, you just need skincare that has a watery and light texture to make it easily absorb into your skin. Otherwise, if your skin type is dry, we recommend you prefer a product that has a creamy and thick texture to hydrate your skin well and prevent cracky makeup. Don’t forget to focus on applying the product in the area that possibly gets cracked.
2. Use Primer for Getting Flawless Makeup
Next, to support your makeup look to get flawless, you need to use a primer. If you are still a beginner at makeup and don’t know the function of primer, let us tell you! Primer has the function to fix your skin problems like oily skin, dry skin, redness, and many more. Therefore, if you want your makeup to look flawless, you have to apply this product.
But if you want to get the maximal result, you have to choose the product based on your skin problems. First, if your problem is oily skin and big pores, you can use a primer that has a silicone texture to blur your pores and hold the oil on your skin. Meanwhile, if your skin is dry and patchy, you can prefer a product that has a cream or gel texture to moisten your skin.
Furthermore, if you have a problem with redness and usually this problem happens to people who have sensitive skin, you can choose a primer that has a green corrector too, that can even your skin tone. So, which primer that right for your skin problem?
3. Choose a Cushion for a Natural Finish Look
Move on to the base makeup product! Because it has a lot of types, I’m sure you will be confused about which one the right product for this makeup. And our choice falls into a cushion! The cushion has similar coverage to the foundation, but the texture is lighter and will give you a natural finish look like a second skin. Besides that, this product also has compact packaging that is easy to use and you can bring it in your bag.
Remember to choose the shade of cushion that matches your skin tone to prevent a tacky look. Even the texture of the cushion is light, but if you use the wrong shade, it will make your makeup look too much or tacky. After you pick the right shade, you can start to apply it with a cushion puff all over your face, and don’t forget to blend it well!
To support your clean makeup, you have to choose the type of cushion based on your skin type. If you have dry skin, you can prefer a product that has a dewy finish look to make your skin looks healthy and glowing. Meanwhile, if your skin is oily, you can choose a semi-matte product to keep the glowing look and give you a natural finish.
4. Cover Your Blemishes with Concealer
Have a lot of blemishes and feel insecure about it? Girls, you don’t have to feel like that because we will help you to solve this problem. You just need the help of concealer to cover all the blemishes on your skin even acne. If you don’t know about concealer, we will answer it! Concealer is a product that has a similar texture to foundation, but it has a higher coverage which can cover your imperfect skin.
The concealer has two types there is liquid concealer and cream concealer. For this makeup, we recommend you prefer liquid concealer for the natural finish. Apply the product on the areas that need extra coverage like acne, dark spot, or dark circle under your eyes. Then, you can wait for it for a while until it half-dry. Furthermore, blend it with a wet sponge, fingers, or brush slowly and your blemishes can’t be seen anymore!
5. Give a Dimension to Your Face Using Cream Contour
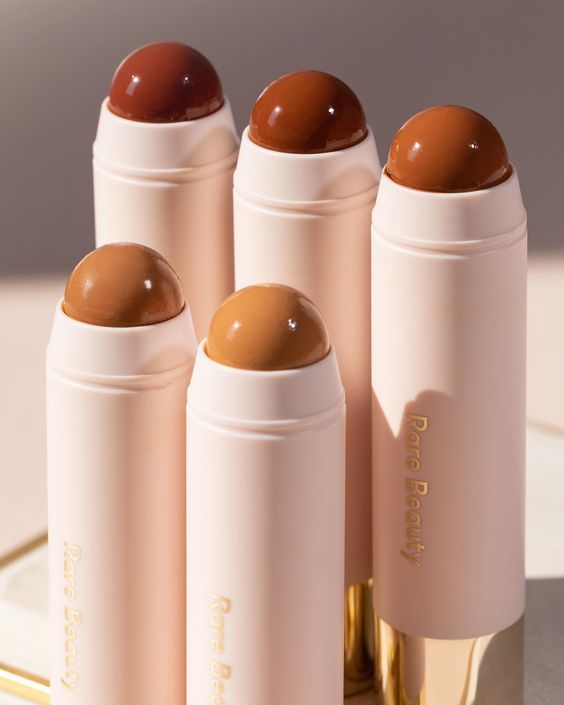
For making your makeup looks more natural, you need to bring back your facial dimension that loses because of the base makeup. So, you can use a contour for this problem! Contour is divided into two which are cream contour and powder contour. For keeping the natural finish, I think choosing a cream contour is a great choice.
Choose a shade that is 1-2 tones below your skin for having a natural dimension and to prevent looking too much. After choosing the right contour shade for you, you can continue to apply it under the cheekbone, jawline, nose, and hairline. Furthermore, blend it with a contour brush or wet sponge until there’s no harsh line.
6. Cream Blush to Get Natural Blushy Cheeks
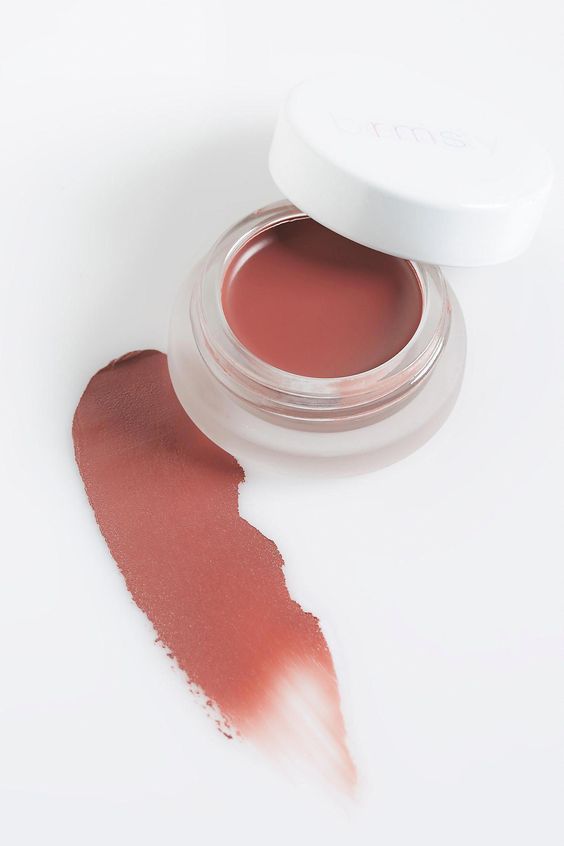
Makeup will not complete without blush, because this has the function to make your face look sweeter and pretty. Therefore, you can skip this important part if you want your makeup to look natural and healthy. Furthermore, to keep the glowing look and have a long-lasting blush, you can prefer using a cream blush over powder.
Then, use the natural color of blush like nude, peach, or coral to get natural blushy cheeks. After deciding which is the right color for your blush, you can apply it to your cheekbone. Why not in the apple of your cheeks? Because we want to lift your face, so your face shape will look more thin and sharp.
7. Set Your Complexion with Loose Powder
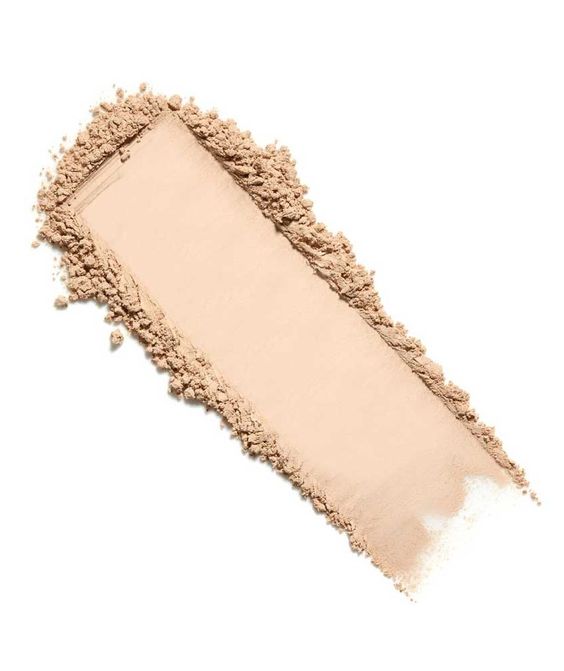
It’s time to set your base makeup with powder to prevent greasy or cracky makeup. But I’m sure you will be confused about which kind is the right powder for this makeup to keep the glowing look. Okay, don’t worry, we already think about this problem. And the answer is a loose powder or translucent powder, we also give you a tutorial on how to apply it.
First, for those who have dry skin, you can use the powder with a brush and apply it only on the area that easy to gets cracking. Try to choose a powder that has glitter to give a dewy effect look. Furthermore, if you have oily skin, you can apply the powder using a sponge and focus on the T-zone area and other areas that easy to get oil.
8. Make Feathered Brows Look

Next, we’re moving on to the brows! This part will determine your face look. If you use it on fleek brows, I’m sure your face will look sexy and mature. Meanwhile, if you prefer natural brows, you will look younger and cute. So, I think you already what kind of brows we will pick for this makeup! Yes, you’re right, feathered and natural brows look.
First, you need brow wax or mascara brows to set your hair brows and make it look neat. Then, fill in the blank space and draw a brow shape with an eyebrow pencil. Don’t forget to blend your brows using a spoolie brush to keep it natural. Furthermore, for the last touch, you can clean the edges and make them sharper with concealer. Now your feathered brows are done!
9. Use a Natural Color for The Eyeshadow

Jump into the eye makeup, this is a very fun part but also tricky, so you have to be careful if you don’t want your makeup to look too much. So, for the eyeshadow, we suggest you use a natural color like nude or brown. Because this part is just for shaping your eyes to make them look deeper and sharp. And here’s the tutorial!
Use a lighter color eyeshadow all over your eyelid. Then, continue with a darker color and apply it to the outer corner of your eyes to make your eyes deeper. Don’t forget to blend until there’s no harsh line. Furthermore, apply a shimmer eyeshadow on the inner corner to make your eyes pop and more awake. Do the same thing to your lower eyes!
10. Pencil Eyeliner for Making Your Eyes Sharper
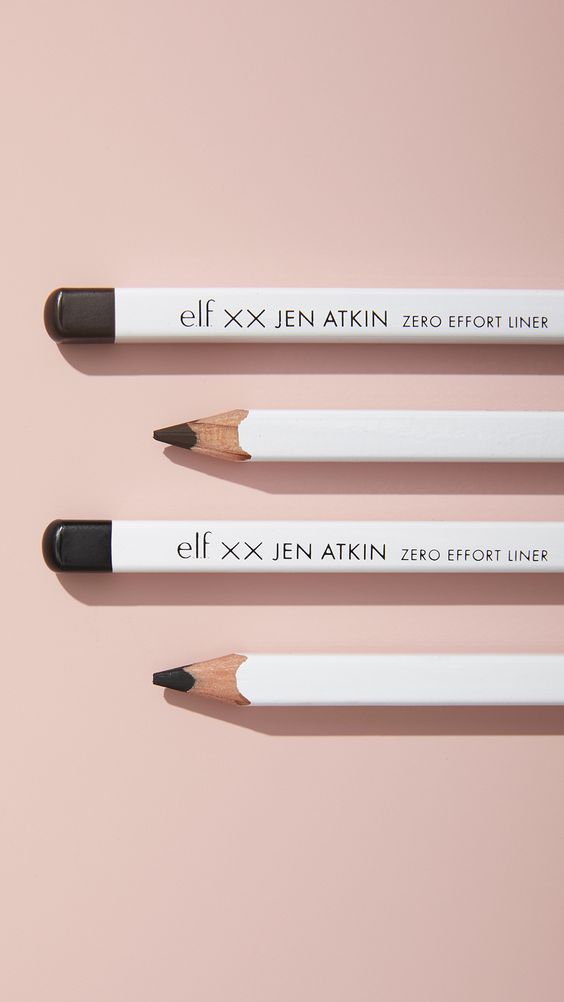
After the eyeshadow part is done, you can move on to the eyeliner part! This part is optional, you may skip it if you already have sharp and big eyes. But, if your eyes are small, you will need eyeliner to make your eyes bigger, longer, and sharper.
To keep this makeup looking natural, you can use a pencil eyeliner over the liquid. Besides that, it’s very easy to use which means it’s suitable for you who are still a beginner. For the color of the eyeliner, you can choose between brown or black. Then, start to draw the line from the inner corner to your outer corner, and continue making a straight line at the end of your eyes to make it looks sharp and longer.
11. Make Your Lashes Thicker with Mascara
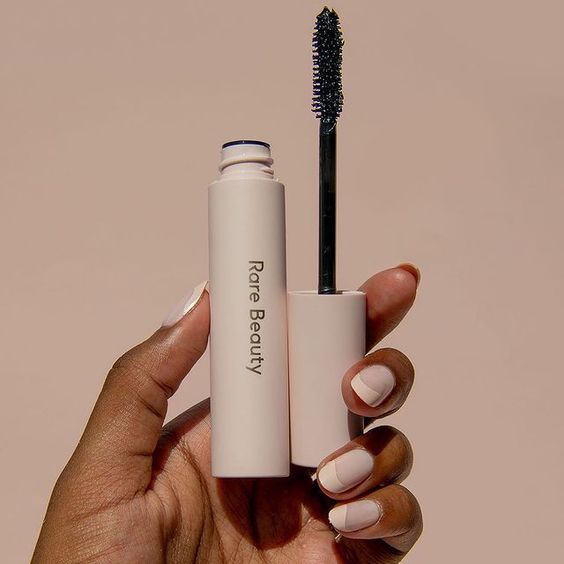
The last step to finish your eye makeup is using mascara that can make your lashes thicker and longer! Believe me, it will make your eyes looks prettier and more awake. You can use brown mascara if you want to have a natural look. Or you can prefer black mascara to make your eyes look sharp. So, just choose which one you like.
Curl your lashes first with an eyelash curler before applying the mascara. But if you want to have a long-lasting curl, you can heat the eyelash curler with a hairdryer. Furthermore, after getting the curl that you want, start to apply mascara on the upper and lower lash.
12. Cream Highlighter is The Key to This Makeup

This is the key to having a clean makeup look which is using a highlighter! Because it can give a glowing look and also it can complete your contouring step. We recommend you use a cream highlighter to make it looks natural and don’t forget to choose the shade that matches your skin tone.
If you have light skin, you can choose a champagne color highlighter. Then, use a gold color highlighter if your skin is dark. And last, a rose gold color highlighter for people that has a pink skin undertone. Furthermore, you can start to apply it on the highest point of your face like the cheekbone, brow bone, nose, and chin.
13. Use Lip Gloss for The Lips
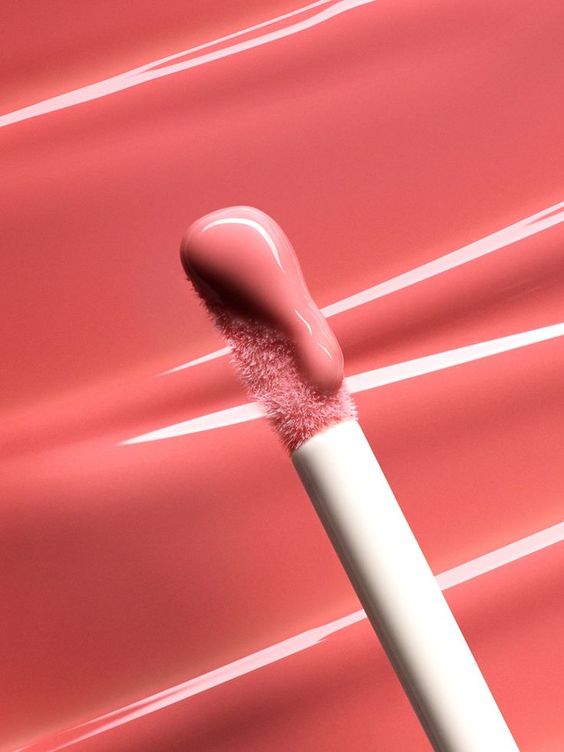
Now, turn into every girl’s favorite part! Of course, lipstick is the answer. But for this makeup, we don’t use lipstick, because it’s not suitable for this makeup. We change it with a lip gloss that matches your clean and glossy makeup. Do you feel worried because you have a dark lips? Don’t worry, you still can use lip tint to give color to your lips.
First, conceal the dark line on your lips with concealer and blend it. Then, this is optional, you can use lip tint first that has a natural color on the center of your lips. Furthermore, apply the lip gloss all over your lips. And the lips part is done!
14. Setting Spray to Lock Your Whole Makeup
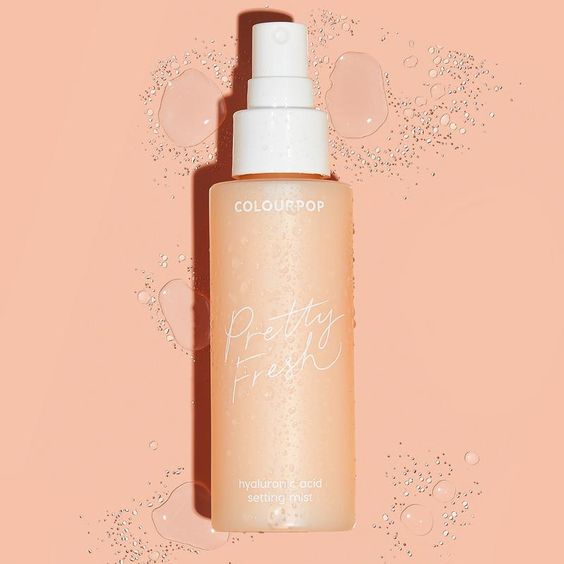
Use a setting spray to finish this makeup! This is the key if you want your makeup to stay all day without cracking or greasy. And also, setting spray will help you to make your makeup not powdery so it will look more natural. But you have to choose the product based on your skin type to feel the result and we will help you to find the right setting spray!
A matte finish setting sprays for people who have oily skin because it can hold the oil without blocking your pores. Furthermore, use a dewy finish setting spray if you have dry skin to moisten and hydrate your skin.
That’s all about the tutorial! What do you think? Isn’t it easy enough to follow, especially for you who are still a beginner? With this makeup, you will be pretty every day without looking too much or even tacky. I hope you can follow this tutorial easily and enjoy clean and glossy makeup ideas for your daily look.